
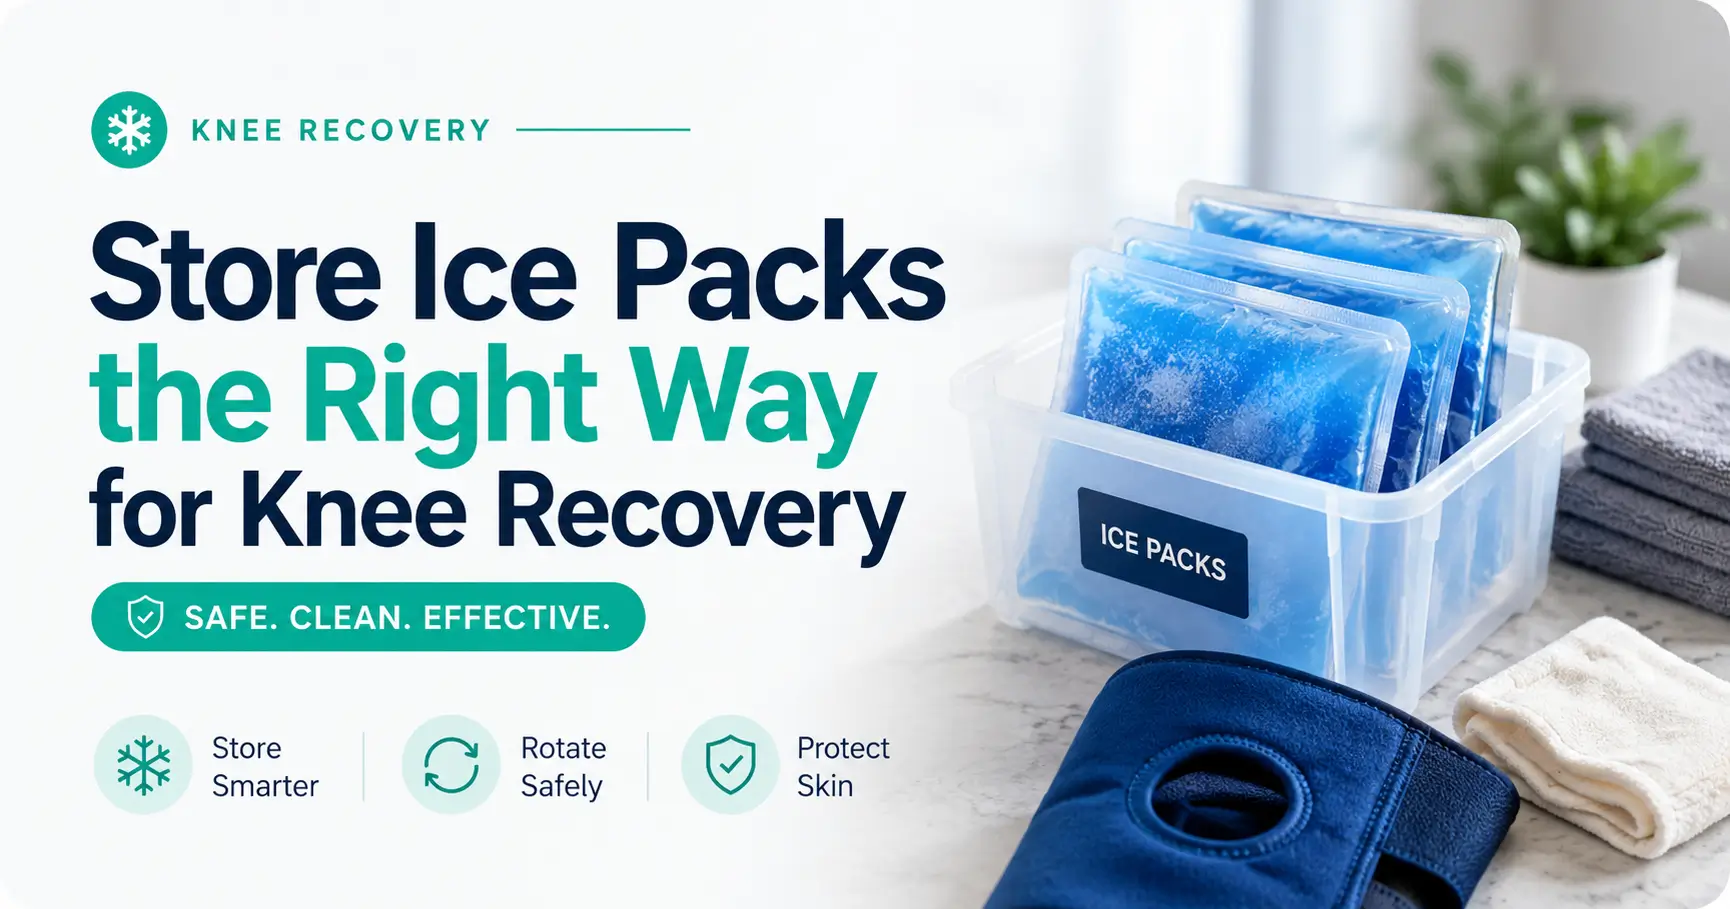
Knee recovery freezer system
How to Store Ice Packs During Knee Recovery
Without Making Swelling Worse
When your knee is swollen, sore, stitched, braced, or simply furious after physical therapy, an ice pack can feel like the small blue rectangle standing between you and a very long afternoon. But cold therapy is not only about owning an ice pack. It is about storing it cleanly, rotating it calmly, protecting your skin, and making the whole routine so obvious that nobody has to think hard while hurting.
The best freezer setup is humble: flat packs, a labeled bin, clean towels, a timer, and a backup plan. Done well, it prevents the tiny recovery failures that become oddly dramatic at 10:47 p.m., when one pack is floppy, another is buried under frozen peas, and your knee has started writing complaint letters to management.
This guide walks through a safe, practical ice pack storage system for knee recovery at home. It is written for people managing swelling after injury, surgery, physical therapy, or daily flare-ups, as well as caregivers trying to turn a chaotic kitchen freezer into a quiet little recovery station.
The goal is not heroic icing. It is a boring, repeatable system your sore knee can trust. 🧊
This article is for people recovering from knee injury, knee surgery, swelling, or physical therapy soreness at home. You will learn how to store reusable ice packs, build a two-pack rotation, avoid common cold-therapy mistakes, compare low-cost and upgraded setups, and know when symptoms deserve medical attention instead of another ice session.
Table of Contents
Before You Ice: A Safety Note That Actually Matters
Cold therapy can be useful for swelling, soreness, and comfort during knee recovery, but it is not harmless just because it lives in the freezer. Too much cold, direct contact on skin, reduced sensation, or ignoring worsening symptoms can turn a helpful routine into a problem.
This guide is general home recovery information, not personal medical advice. If you had knee replacement, ACL repair, meniscus surgery, fracture care, or any procedure with surgeon-specific instructions, those instructions outrank a general blog article every time.
Who should be extra careful with ice packs
Be more cautious if you have diabetes, neuropathy, poor circulation, Raynaud’s syndrome, fragile skin, reduced sensation, open wounds, surgical dressings, or a history of cold injury. In those cases, the question is not “How cold can I tolerate?” It is “What did my clinician specifically tell me to do?”
Older adults and caregivers should also treat icing as a timed routine, not a passive activity. Falling asleep with a frozen pack on the knee is not a recovery strategy. It is freezer roulette with pajamas.
Safe timing basics for home icing
Many general first-aid resources recommend using a cloth barrier and limiting icing sessions to short periods, often around 15 to 20 minutes unless a clinician gives different instructions. More cold is not automatically better. Past a certain point, you are no longer being diligent. You are just negotiating with numbness.
Use ice as a timed comfort tool, not a test of toughness. A towel barrier, short sessions, and clear stop signs protect the skin while still supporting a calm swelling routine.
For general first-aid guidance, you can review Mayo Clinic’s sprain first-aid page or Cleveland Clinic’s injury-icing guidance. These are useful references for ordinary injury care, but your own surgeon or physical therapist may adjust the plan based on your knee, procedure, and medical history.
Start With the Two-Pack Rule
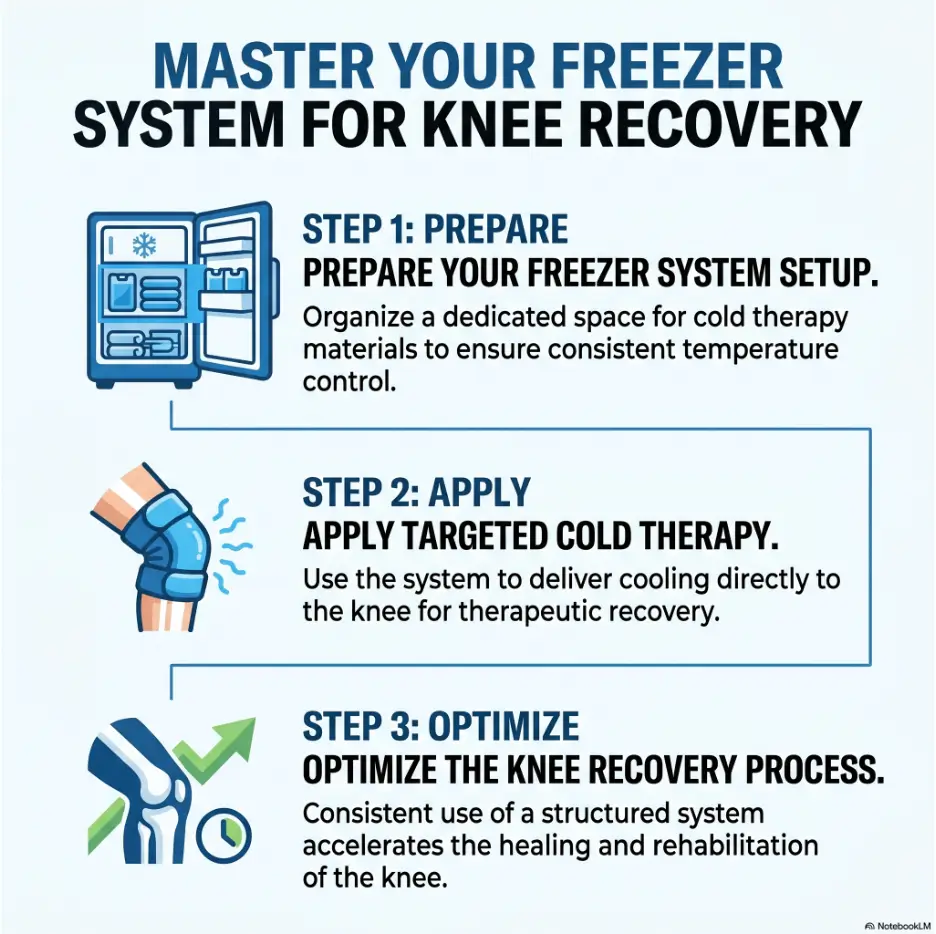
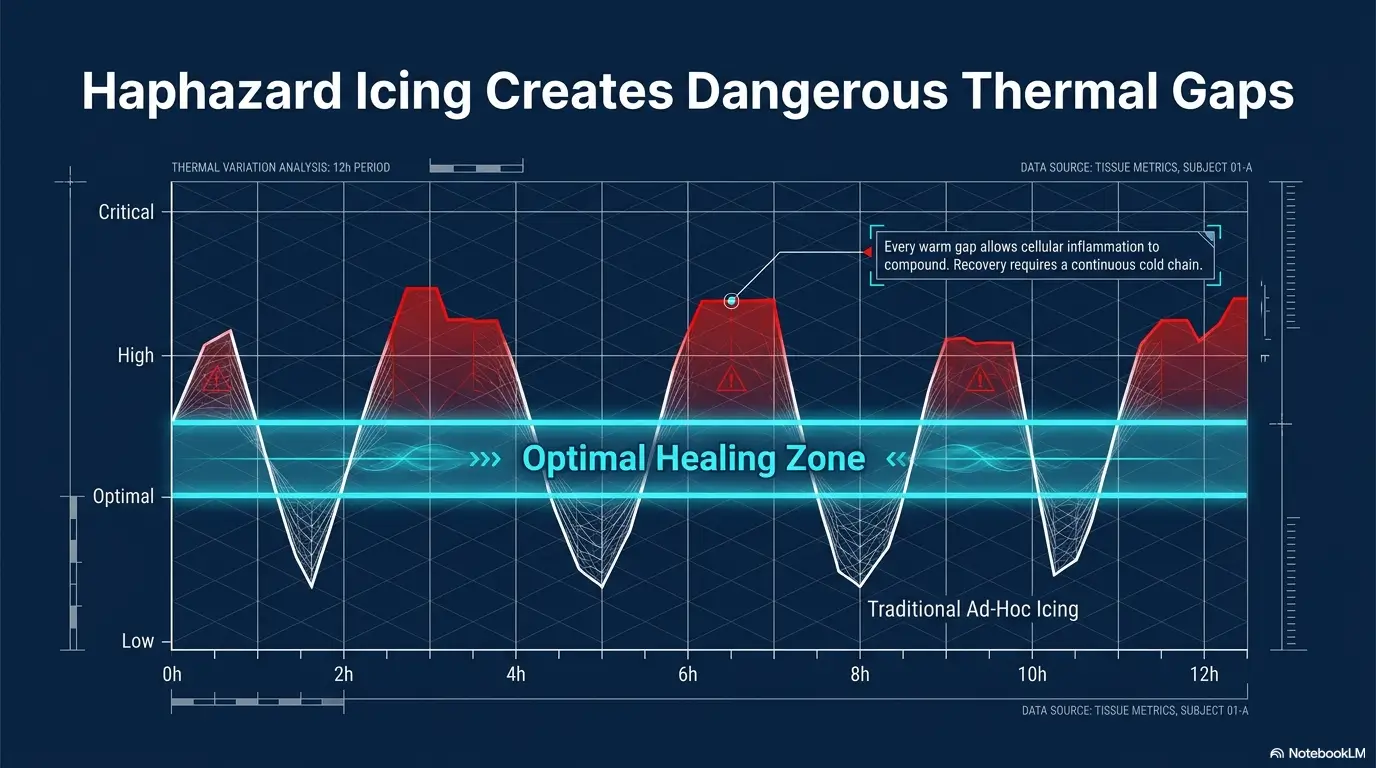
The simplest way to store ice packs during knee recovery is to own at least two reusable packs and rotate them. One pack works while the other refreezes. That single rule prevents most of the freezer drama.
If you only have one pack, you may be tempted to use it half-frozen, press it harder into the knee, leave it on longer, or improvise with random freezer items. That is how a small storage problem becomes a soggy recovery opera.
Label Pack A and Pack B
Use a permanent marker or a piece of freezer-safe tape to label your packs “A” and “B.” The label does not need to be elegant. It only needs to survive the freezer and make sense when someone is tired.
This is especially useful for caregivers. A family member can remove Pack A, place Pack B in the ready bin, and know exactly what is happening without asking five questions from the kitchen doorway.
Use a simple rotation rule
Write the rule somewhere visible: “Pack out, towel on, timer set, pack dried, pack back in.” That tiny sentence is more helpful than a perfect plan nobody follows.
- Pack A is fully frozen and ready.
- Pack B is refreezing flat in the freezer.
- A clean towel is within arm’s reach.
- A phone timer or kitchen timer is available.
- The used pack gets wiped dry before going back.
Store Packs Flat, Dry, and Easy to Grab
Flat storage matters because the shape of the pack becomes the shape of the cold surface pressing against your knee. A smooth, even pack is easier to position around swelling, braces, wraps, and sore spots.
A folded or crumpled gel pack may freeze with ridges. Those ridges can create uncomfortable pressure points, especially around tender tissue, bruising, incisions, or sensitive skin.
Use a tray for the first freeze
When a new gel pack arrives, place it flat on a baking sheet, tray, or empty freezer shelf until it is fully frozen. Once it has a good flat shape, it is easier to store neatly inside a bin or freezer bag.
If your freezer is crowded, put the pack between two flat items, not under a mountain of frozen containers. Heavy items can dent the pack, stress the seams, or freeze it into a strange topographic map of last month’s groceries.
Dry before refreezing
After each icing session, wipe condensation from the outside of the pack before returning it to the freezer. Moisture turns into frost. Frost makes packs stick to shelves, collect lint, and feel less pleasant to handle.
A quick drying pause also helps keep your recovery station cleaner. This matters even more after surgery, when you may be dealing with dressings, limited mobility, and a lower tolerance for household chaos.
Replace leaking packs immediately
A leaking gel pack should be retired. Do not place it on skin, surgical dressings, furniture, bedding, or anywhere near food storage. If a pack smells odd, feels sticky, shows a split seam, or leaves residue, it has finished its service and deserves a dignified exit.
| Storage problem | Why it matters | Safer fix |
|---|---|---|
| Pack frozen folded | Creates hard ridges and pressure points | Freeze flat on a tray or shelf |
| Wet pack returned to freezer | Builds frost and sticks to surfaces | Wipe dry before storing |
| Pack buried under heavy food | May stress seams or distort shape | Use a dedicated bin |
| Leaking gel pack | Can contaminate skin, fabric, or freezer space | Stop using and replace it |
Create a Clean Freezer Zone for Knee Recovery
Your knee ice packs do not need a luxury apartment in the freezer. They do need a clean, predictable address. A dedicated freezer zone prevents contamination, makes packs easier to find, and keeps recovery supplies from becoming household folklore.
The easiest setup is a labeled freezer bin, zip-top freezer bag, or clean plastic container. It should be large enough for packs to lie flat and easy enough to pull out with one hand.
Separate medical packs from food
Keep knee packs away from raw meat, seafood, leaking bags, and open food containers. Even if the pack itself never touches the knee directly, it will be handled during recovery and may be placed near towels, wraps, or furniture.
This is not about becoming precious. It is about removing one more avoidable risk from a period when your body already has enough paperwork to process.
Do not store packs loose
Loose packs get buried, punctured, bent, forgotten, or mistaken for lunch archaeology. A dedicated container helps everyone in the house know what belongs to recovery and what belongs to dinner.
If you share a freezer with roommates, kids, or an enthusiastic snack hunter, label the container clearly: “Knee ice packs. Do not use for food.” It may feel excessive until someone tries to cool a lunchbox with your post-op ice pack.
The best way to store knee recovery ice packs is not “somewhere in the freezer.” It is flat, dry, labeled, and separated from food in a clean container.
Build a Towel Barrier Station Beside the Chair
An ice pack storage system is incomplete if the towel lives across the room. The towel barrier is not a decorative accessory. It is the small cloth border between useful cold and skin trouble.
Store a short stack of clean, thin towels or dishcloths beside the recovery chair, bed, or couch. The cloth should be thin enough to allow cold transfer, but substantial enough to keep frozen material from touching skin directly.
Make the safe choice the easy choice
When pain spikes, people reach for whatever is fastest. If the towel is nearby, the safe choice is also the lazy choice. That is the secret architecture of good recovery: fewer decisions, fewer heroics, fewer cold surprises.
If you use a brace, compression wrap, or cold therapy sleeve, ask your clinician or physical therapist how the barrier should work with your setup. Some systems include their own pad or sleeve, while others still require careful skin checks.
Check skin before and after
Before icing, glance at the skin around the knee. After icing, check again. Stop if the skin becomes unusually white, gray, blue, blistered, painfully numb, or more painful rather than calmer.
If you cannot feel temperature well, do not rely on sensation as your safety system. Use a timer, visual skin checks, and clinician guidance.
Short Story: Towels, Timers, and a Tired Caregiver
After her father’s knee surgery, Mara made the freezer look immaculate. Two gel packs lay flat in a labeled bin. A backup pack waited underneath. She felt proud, almost ceremonial, until the first evening pain flare arrived.
Her father was already in the recliner. The ice pack was ready. The problem was the towel. It was in the laundry room, past the walker, past the dog bowl, past the narrow hallway that suddenly seemed designed by an obstacle-course villain.
The next morning, Mara put six thin towels in a basket beside the chair and taped a note to the table: “Towel first. Timer second.” Nothing dramatic happened after that, which was exactly the point.
Recovery often improves through small systems, not grand speeches. The freezer matters, but the chair-side setup matters too.
The Mini Freezer Bin System That Prevents Chaos
A small freezer bin system turns ice pack storage into a repeatable workflow. This is especially helpful after knee replacement, ACL surgery, meniscus repair, or any recovery where swelling management becomes part of daily life.
You do not need an expensive system. The budget version can be two freezer bags and a marker. The premium version may include bins, wraps, extra sleeves, and cold therapy machine bottles. The principle is the same: ready items stay ready, used items have a place to recover, and nobody has to rummage.
Bin 1: ready-to-use packs
This bin holds fully frozen, clean, dry packs. These are the only packs that should be grabbed for an icing session. If a pack is slushy, damp, or oddly shaped, it does not belong here yet.
Bin 2: refreezing packs
This bin is for packs that have just been used and need time to refreeze. It prevents the common mistake of grabbing the same half-cold pack over and over because it looks available.
Bin 3: extras and wraps
This optional bin can hold elastic wraps, spare sleeves, compatible frozen water bottles, or backup packs. Keep it tidy. The extras bin should not become the freezer drawer where good intentions go to retire.
| Setup level | Best for | What to include | Budget note |
|---|---|---|---|
| Good | Short-term sprain or mild PT soreness | Two reusable packs, one freezer bag, one towel stack | Lowest cost and usually enough for simple routines |
| Better | Post-op recovery or frequent swelling | Three to four packs, labeled freezer bin, towel basket, timer | Worth considering when icing happens daily |
| Best | Caregiver-managed recovery or cold therapy machine use | Dedicated bins, extra sleeves, compatible frozen bottles, printed routine | Higher cost, but reduces confusion and late-night scrambling |
Cold Therapy Machines Need Their Own Storage Plan
Some knee recovery plans include a cold therapy machine or circulating cold-water system. These can be convenient, but they still need a storage routine. A machine without a refill plan becomes a plastic monument to good intentions.
Always follow the device instructions and your clinician’s guidance. Machine temperature, session length, pad placement, skin barriers, and compression features can vary. If you are not sure whether your machine setup is appropriate after surgery, ask before improvising.
Frozen water bottles vs loose ice
For compatible machines, frozen water bottles can be cleaner and easier than loose ice. They reduce dripping, make refills faster, and can be rotated just like gel packs. Confirm that your machine allows this before using bottles, because not every device is designed the same way.
If bottles are allowed, label them for therapy use only. Do not drink from them, store them with open food, or let them vanish into the family cooler on picnic day.
Keep parts dry between uses
Tubing, pads, lids, and sleeves can collect condensation. After use, dry external surfaces and store parts where they will not kink, get stepped on, or become tangled under blankets.
If you notice leaking, unusual odors, damaged tubing, skin irritation, or temperature changes that feel unsafe, stop using the machine and check the instructions or call the provider who supplied it.
What to ask before buying or renting
Some people can manage knee recovery with simple reusable packs. Others may consider a cold therapy machine, especially after major surgery. Before paying for one, compare the practical details instead of buying the shiniest box in the room.
- Is the machine recommended for my procedure or condition?
- Does my clinician want compression, cold only, or a specific protocol?
- How much does rental or purchase cost?
- Are pads, sleeves, or replacement parts included?
- How easy is it to clean, drain, and refill?
- Does insurance, HSA, or FSA coverage apply in my situation?
- Who do I call if it leaks or irritates my skin?
Show me the nerdy details
Cold therapy works mainly by reducing tissue temperature at the surface and nearby tissues. That can affect comfort, blood flow, and nerve signaling. The tricky part is that skin, fat thickness, circulation, surgical swelling, dressings, and device design all change how cold reaches the knee. This is why “20 minutes for everyone” is too simplistic for complex recovery. It is also why a towel barrier, skin checks, and clinician-specific instructions matter more than trying to make the pack colder.
Travel, Work, and PT Appointment Storage
Knee recovery does not always happen politely at home. Sometimes you need to bring cold packs to physical therapy, work, a caregiver’s house, or a short car ride. The rules remain simple: keep packs cold, clean, separate, and labeled.
Use an insulated lunch bag
A small insulated lunch bag can keep ice packs colder during short trips. Add a clean towel or sleeve in the same bag, but keep it in a separate pouch if the pack has condensation.
For longer outings, assume the pack may soften. A slushy pack may still feel cool, but it may not perform the way you expect. Build your plan around realistic timing, not freezer optimism.
Separate packs from snacks
Medical packs should not mingle with food. Use a dedicated bag or clearly separate compartment. This is partly hygiene and partly social grace, because nobody wants to discover that the “blue gel rectangle” next to the grapes has been living on a post-op knee.
Ask before icing at PT
If you are going to physical therapy, ask whether you should ice before or after the appointment. Your therapist may want to assess swelling, skin, motion, or pain response first.
For related recovery planning, a simple appointment checklist can help you explain swelling patterns, pain timing, and what happens after home icing. You may also find it useful to pair this routine with a pain flare trigger log or a caregiver note system for orthopedic appointments.
Common Mistakes That Make Icing Less Safe
Most ice pack mistakes are not dramatic. They are ordinary household shortcuts that seem harmless in the moment: skipping the towel, forgetting the timer, grabbing the same limp pack, or storing medical supplies under a frozen casserole with architectural ambition.
The fix is not perfection. It is a simple system that catches tired-brain mistakes before they reach your knee.
Mistake 1: using only one pack
One pack often leads to inconsistent cold therapy. It may not refreeze fully between sessions, especially if swelling has you icing more than once a day. A second pack gives the freezer time to do its quiet work.
Mistake 2: applying frozen packs directly to skin
Bare skin contact can increase the risk of cold injury, especially if you have reduced sensation or are distracted. Use a cloth barrier and check the skin. Fast relief should not cost you a new problem.
Mistake 3: icing longer because pain feels scary
Pain can make time feel elastic. A planned 20-minute session can quietly become 45 minutes if the TV is on and the knee finally feels calmer. Set a timer before the pack touches your knee.
Mistake 4: ignoring red flags
Ice is not the answer to every symptom. Worsening pain, spreading redness, fever, drainage after surgery, calf swelling, shortness of breath, new numbness, blue or pale skin, or pain that feels out of proportion should be treated as a reason to seek medical guidance promptly.
- Skin turns unusually white, gray, blue, blistered, or painfully numb.
- Swelling, redness, warmth, or drainage worsens after surgery.
- Calf swelling, chest pain, or shortness of breath appears.
- Pain feels severe, sudden, or out of proportion.
- You are unsure whether your medical condition makes icing risky.
For broader recovery safety, you may want to read a knee replacement nightstand setup guide or a heating pad vs ice wrap comparison so your comfort tools do not fight each other.
FAQ
How many ice packs should I keep for knee recovery?
Keep at least two reusable ice packs. One can be in use while the other refreezes. If you are recovering from surgery, managing frequent swelling, or relying on a caregiver, three or four packs may make the routine easier.
Should knee ice packs be stored flat or rolled?
Store them flat whenever possible. Flat packs freeze more evenly and are less likely to create hard ridges that press into sore or swollen areas.
Can I keep gel ice packs in a freezer bag?
Yes. A clean freezer bag is a simple, low-cost way to separate knee packs from food and freezer clutter. Dry the pack before returning it to the bag so frost does not build up.
How long does an ice pack need to refreeze?
Refreezing time varies by pack size, freezer temperature, and how long the pack was used. Many reusable packs need several hours to become firm again. This is why a two-pack rotation works better than relying on one pack.
Is it safe to use frozen vegetables as a knee ice pack?
Frozen vegetables can work as a temporary cold source because they mold around the knee, but they should be wrapped in a towel and should not be eaten after repeated thawing and refreezing. Label the bag for therapy use only.
How do I clean a reusable ice pack after knee surgery?
Follow the manufacturer’s cleaning instructions. In general, wipe the outside with a clean damp cloth, use mild soap if allowed, dry it fully, and keep it away from surgical dressings and food. Do not use a leaking or sticky pack.
Can I sleep with an ice pack on my knee?
Do not sleep with a frozen ice pack on your knee unless your clinician specifically instructs you to use a monitored device in a particular way. Sleeping increases the chance of leaving cold on too long and missing skin warning signs.
What should I do if my ice pack leaks?
Stop using it. Place it in a disposable bag, clean any affected surfaces, and replace the pack. Do not use leaking gel packs on skin, furniture, bedding, or near food.
Are colder ice packs better for swelling?
Not necessarily. A colder pack is not automatically safer or more effective. Skin protection, timing, consistency, and clinician guidance matter more than chasing maximum cold.
Should I use ice or heat for knee stiffness?
It depends on the cause, timing, and your medical instructions. Ice is often used for swelling or soreness after activity, while heat may be used for certain types of stiffness. After surgery or a fresh injury, ask your clinician before using heat around swelling, wounds, or new symptoms.
Build Your 15-Minute Knee Ice Station
The best ice pack storage system is the one you can set up today and still follow when your knee is cranky. You do not need a perfect recovery command center. You need a freezer bin, two packs, clean towels, and a timer.
Start with the recovery triangle: freezer, chair, timer. Put the packs in a labeled freezer container. Put the towels beside the place where you actually rest. Put the timer within reach before the pack touches your knee.
Your 15-minute setup plan
- Choose two reusable ice packs and label them A and B.
- Place both packs flat in a clean freezer bin or freezer bag.
- Move raw or open food away from the ice pack zone.
- Stack four to six clean thin towels beside your recovery chair or bed.
- Set a phone timer shortcut or place a kitchen timer nearby.
- Write one sticky note: “Towel on skin. Timer on. Pack dry before freezer.”
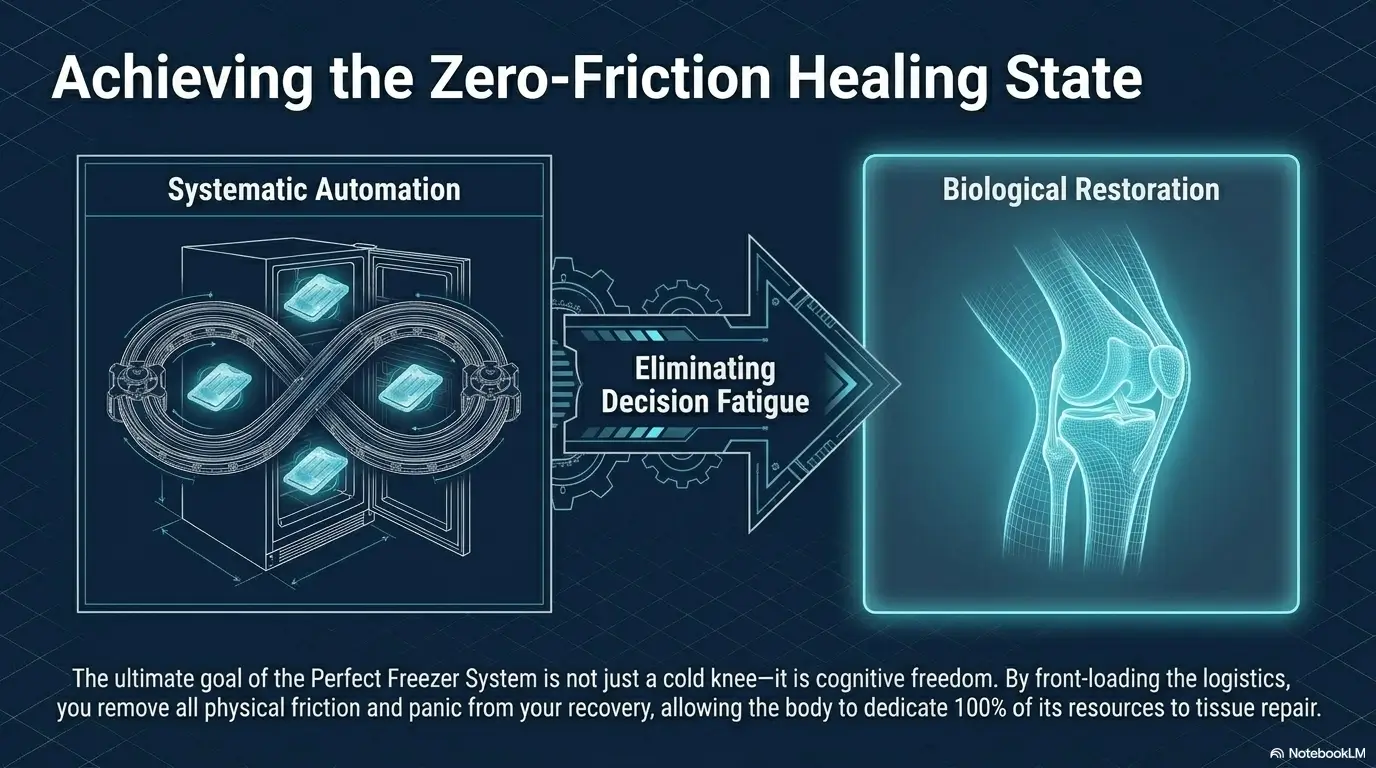
Make recovery boring in the best way. When the freezer is organized, the towel is close, and the timer is ready, icing becomes one less decision your sore knee has to negotiate.
If symptoms change, swelling worsens, or your post-op instructions conflict with a general routine, pause the home system and contact your clinician. The ice pack is a tool. Your recovery plan is the map.
Last reviewed: 2026-07